
Key Takeaways
- TiviMate recording requires Premium and a writable recording folder.
- Keep the device powered with enough storage and an available provider connection.
- Test live capture and an EPG timer before scheduling an important programme.

Here is how to record on TiviMate: activate Premium, choose a writable recordings folder, then select Record on a live or upcoming programme. Reliable recording also needs spare storage, an available provider connection, and a powered streaming device. This guide covers instant recording, scheduled timers, USB and network storage, and the checks that explain why a recording stops early or never creates a file.
How to Record on TiviMate: My Quick Take
I would start with a two-minute recording before scheduling anything important. Open Settings → Other → Recording → Recordings folder, select an accessible destination, and record a channel that already plays reliably. Stop it, open Recordings, and check playback. Then test a future timer with the television off but the streaming device still powered. TiviMate saves the stream it receives; it cannot repair missing footage. Budget a separate provider connection for each recording and each live viewing session. Menu wording and folder access can vary with the app version, remote settings, and operating system.
What You Need Before Pressing Record
Confirm these four requirements first. Paying for the player alone does not supply channels or increase the simultaneous connections included with your television service.
- Premium access: Recording requires the paid features to be unlocked on this device. Check the purchase screen for current local pricing before upgrading.
- A working source: Add your authorised playlist, confirm live playback, and check that the service permits recording of the programmes you intend to save.
- Writable space: Use internal storage, a compatible USB drive, or an accessible network share with enough capacity and permission to create files.
- Continuous power: Keep the recorder and any network storage running throughout the timer; avoid force-stopping TiviMate or disconnecting its internet connection.
Choose Internal Storage, USB, or an SMB Share
The right destination depends on available space and write access. A drive appearing in a file manager does not prove that TiviMate can save to it. Compare these options before buying hardware or changing a working setup.
| Destination | Useful for | Check before recording |
|---|---|---|
| Internal folder | A short first test | Leave room for the operating system and apps. |
| Removable USB | Keeping recordings beside the TV | Device support, power, permissions, and filesystem limits. |
| USB SSD | Frequent or higher-bitrate recordings | Confirm the device can mount and write to it. |
| NAS over SMB | Larger recordings on home storage | Share credentials, write permission, and a stable LAN. |
| PC shared folder | Using storage you already own | The computer must stay awake and connected. |
Step 1: Set the TiviMate Recordings Folder
Open Settings → Other → Recording → Recordings folder and choose Select folder. Browse to your destination and confirm it. If available, use System picker to select a permitted folder and approve folder access. Return to the recording settings and verify the displayed path. If the picker is missing, blocked, or unusable with your remote, follow the device-specific guidance below; entering a path alone does not grant write permission.
Step 2: Record the Programme Playing Now
While watching a live channel, press OK/Select to show the player controls, move to the recording icon, and choose Record. Alternatively, long-press the programme in the guide and use its recording action. Confirm the recording indicator appears. To finish your test, reopen that programme’s menu and choose Stop recording. Recording starts from that moment; it does not recover the beginning of a programme that aired before you pressed Record.
Step 3: Schedule a Recording from the EPG
Open the programme guide, move to the future broadcast, and select it to open the Remind/Record options; a long press can open the side menu instead. Choose Record and check that the timer appears in Recordings. Verify the device clock, time zone, and guide times first. Under recording settings, add start and end padding when appropriate. For live sport, allow additional time beyond the listed finish rather than relying on the EPG.
Step 4: Create a Custom or Repeating Timer
For a blank guide or a known weekly timeslot, long-press the channel and choose Custom recording, then New recording if shown. Enter the start date, start time, duration, and a recognisable name. Enable Repeat and select the required weekdays for recurring captures. Save the timer and check the schedule. This repeats a timeslot; it does not reliably follow a series when its broadcast time changes or select only new episodes.
Step 5: Play, Check, and Manage Saved Recordings
Open the left navigation menu and select Recordings. Play the completed test and check its beginning, middle, end, audio, and duration. Delete unwanted test files only after confirming the correct item. For another device, browse the recording folder and open the saved video with a compatible player such as VLC. A shared folder does not automatically synchronise TiviMate’s recordings list. Keep a separate copy of recordings you want to retain before changing storage.
USB and Network Setup on Fire TV and Android TV
Storage access depends on the exact device and operating system. Use this sequence to separate hardware detection, folder permission, and network access before troubleshooting a timer.
- Fire TV: Compatible Firesticks may need a powered OTG arrangement for USB. Confirm the drive appears in Fire TV storage; USB support is model-dependent.
- Android TV: Select a folder TiviMate can access. Newer Android storage restrictions can block older folder tricks; check folder permissions on your device.
- SMB setup: Share a dedicated folder on an awake PC or NAS. In TiviMate’s folder selector, choose Setup SMB, enter server details, and select the share.
- Network check: Use a dedicated share account with write access. Keep both devices on the same reachable LAN; test a local folder to isolate network failures.
For initial installation, see our TiviMate Firestick guide.
Fix TiviMate Recordings That Fail or Stop Early
Change one variable per test. A recording that lasts one minute does not identify a single cause; compare its file size, timing, and live-stream behaviour.
- No file: Confirm Premium, the selected folder, available space, and write permission. Try a short recording to another permitted destination.
- Stops after starting: Close other live sessions and check your provider connection allowance. Compare another channel and a different storage destination.
- Stops near 4 GiB: Check for FAT32’s single-file limit. Do not assume automatic splitting; use a verified large-file destination or shorter custom recordings.
- Timer never begins: Check power, sleep behaviour, clock settings, and any alarms/reminders permission requested by the app. Reopen TiviMate after a restart.
- File will not play: Try VLC after recording finishes. If another player also fails, investigate stream interruptions and storage errors before reinstalling anything.
Estimate Space and Avoid Connection Conflicts
Estimate decimal gigabytes using Mbps × hours × 0.45. Actual bitrate matters more than resolution labels; allow additional space for overhead and bitrate variation.
| Stream bitrate | One hour | Two hours |
|---|---|---|
| 4 Mbps | 1.8 GB | 3.6 GB |
| 8 Mbps | 3.6 GB | 7.2 GB |
| 20 Mbps | 9 GB | 18 GB |
At 8 Mbps, a two-hour programme exceeds FAT32’s 4 GiB limit. exFAT/NTFS support depends on the device. One recording plus another live channel normally needs two provider connections; two recordings plus live viewing need three. Budget separately even when viewing the recorded channel, and verify your provider’s actual accounting.
Useful Tools for Recording and File Checks
These three tools serve different jobs: scheduling, playback verification, and file management. Start with TiviMate; add a helper only when you need it. Install each from its official website or app-store listing. None supplies television channels or overrides your service’s recording terms.
TiviMate
Link: https://tivimate.com/
The main tool for recording and scheduling within your existing channel guide. I would verify Premium on the recording device, then complete a short capture before adding timers. Price: Check the official purchase screen; channel subscriptions and storage are separate costs.
VLC
Link: https://www.videolan.org/
A useful second player for checking saved transport-stream files. I use its broad format support as a troubleshooting option, not a promise that damaged footage can be repaired. Price: Free and open source.
X-plore
Link: https://www.lonelycatgames.com/
A file manager for locating recordings and browsing SMB shares. I would use its folder and disk views to check destinations and file sizes. Price: Some functions require payment; check the app before purchasing extras.
How Did We Evaluate This Recording Guide?
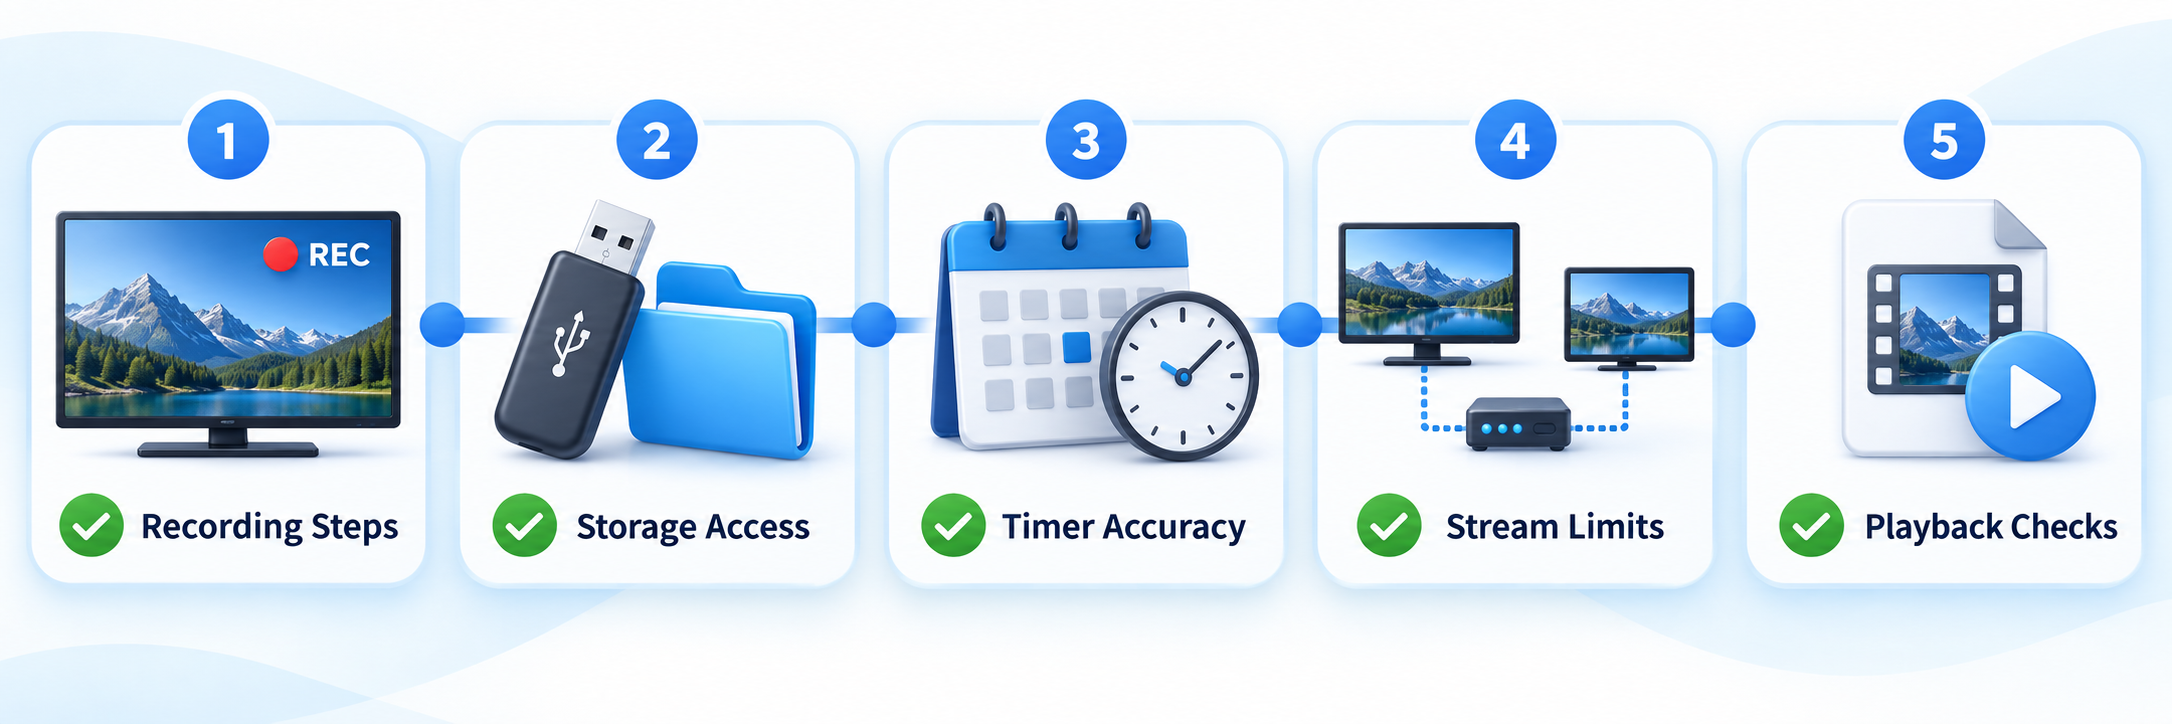
I evaluated the guidance around five practical requirements: clear recording steps, writable storage, accurate timers, available stream connections, and usable playback. The review distinguishes instant captures from scheduled programmes and repeating timeslots, then checks whether each recommendation accounts for device and operating-system differences. This is a research-based guide, not a claim of hands-on testing across every device. Start with the two-minute capture and television-off timer described above, then check the saved file’s duration and audio. A setup is ready for regular use only after those checks succeed under the power, storage, and network conditions you intend to use.
Final Verdict
The dependable way to record on TiviMate is to prove each part of the setup before relying on a timer. Unlock Premium, choose a writable folder, record a short live sample, and verify the saved file. Then schedule a future programme and test the same power and network conditions you will use later. Allow for programme overruns, available connections, and storage limits. Use custom timers when guide data is missing, but check repeating schedules when programmes move. If recording fails, isolate the source, destination, and device state. A successful test is more useful than repeatedly changing unrelated playback settings.
Top 3 Tools for This Workflow
- TiviMate: record live channels and manage scheduled or repeating recording timers.
- VLC: check completed video files when playback inside TiviMate fails.
- X-plore: locate saved files and inspect local or network storage folders.
FAQs
Can I record on TiviMate without Premium?
Recording is a Premium feature. An IPTV service subscription and a TiviMate upgrade are separate purchases: one supplies authorised streams, while the other unlocks player features. Verify that Premium is active on the actual device doing the recording.
Will TiviMate record when the television is off?
It can, provided the streaming device remains powered, connected, and able to run the timer. Television USB ports may stop supplying power when the screen switches off. Test this exact situation beforehand; sleep behaviour differs between devices.
Can I record without a USB drive?
Yes, if an internal folder has sufficient free space and write access. An SMB share is another option. External USB is not universally required, but filling a streaming stick’s internal storage can disrupt normal operation.
Can I record one channel while watching another?
Usually, with enough authorised simultaneous connections, network capacity, and device resources. Plan for one connection per recording plus each live viewing session. A single-connection subscription can reject or interrupt the extra stream even on a powerful device.
Does TiviMate automatically record every new episode?
Custom recording can repeat a selected channel and timeslot on chosen weekdays. It should not be treated as a programme-aware series recorder. Check timers after schedule changes, and do not assume it excludes repeats or follows delayed episodes.
Can I record a programme that has already finished?
A new live recording cannot retrieve footage that already aired. Provider-supported catch-up may offer replay instead, within its retention window. Our catch-up guide explains that separate feature; replay availability does not guarantee a downloadable recording.
Why can another device not see my recordings?
The files and TiviMate’s local recordings list are different things. Browse the shared folder directly and try a compatible external player. Confirm that the file finished recording, the second device can access it, and the format is supported.